

Automation is awesome. Why manually run scripts when you can make your server do it for you? Enter cron jobs—the powerful tool that allows you to schedule tasks with precision. Whether you want to automate backups, send reminders, or clean up logs, cron jobs are your go-to tool.
In this article, we’ll show you how to set up a cron job using the command line and how to do it effortlessly with Server Explorer. Let’s get started!
Part 1 : Creating a Cron Job via Command Line
First, let’s tackle the traditional method using the command line. This part is for those who prefer hands-on control by typing commands in a terminal.
Step 1 : Access Your Server
Open your terminal and SSH into your server:
Copied!ssh username@your-server-ip
(If this doesn’t work, double-check your SSH details.)
Step 2: Open the Crontab File
The crontab is where all the scheduling happens. To open it, type:
Copied!crontab -e
This command opens your crontab file, where you’ll be adding your cron jobs.
Step 3: Understand the Cron Job Syntax
Before proceeding, here’s a quick breakdown of cron job syntax. Each line in your crontab follows this structure:
Copied!* * * * * /path/to/your/script.sh
- Minute (0-59)
- Hour (0-23)
- Day of the Month (1-31)
- Month (1-12)
- Day of the Week (0-7) (Sunday can be 0 or 7)
- Command: The script or command you want to run.
- Comment: you can add some comments if you want it in your cron job
Example
Copied!30 2 * * * /path/to/backup.sh
This job runs backup.sh every day at 2:30 AM.
Step 4: Add Your Cron Job
Let’s say you want to run a cleanup script every Monday at 4:00 AM. You’d add this line to your crontab:
Copied!0 4 * * 1 /path/to/cleanup.sh
Step 5: Save and Exit
After adding your cron job, save the file and exit. In most editors like nano, you can do this by pressing CTRL + X, then Y, and Enter. Yeah i know it can be a little tricky.
Buuuuut!!! if you prefer a more user-friendly approach?
Part 2: Creating a Cron Job with Server Explorer
For the elite who prefer simplicity over complexity, Server Explorer offers a straightforward solution. Let’s explore how you can effortlessly create a cron job using this powerful tool.
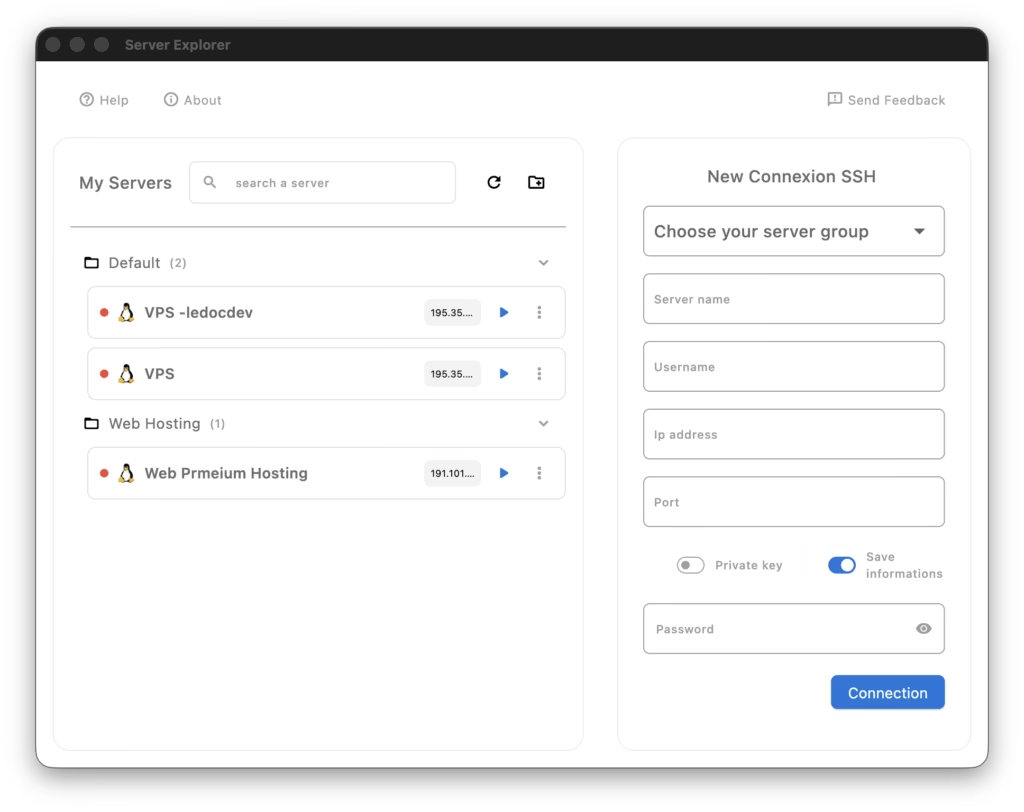
Step 1: Connect to Your Server via SSH
Open Server Explorer and connect to your server by entering your SSH credentials. This is straightforward—no complex commands needed.
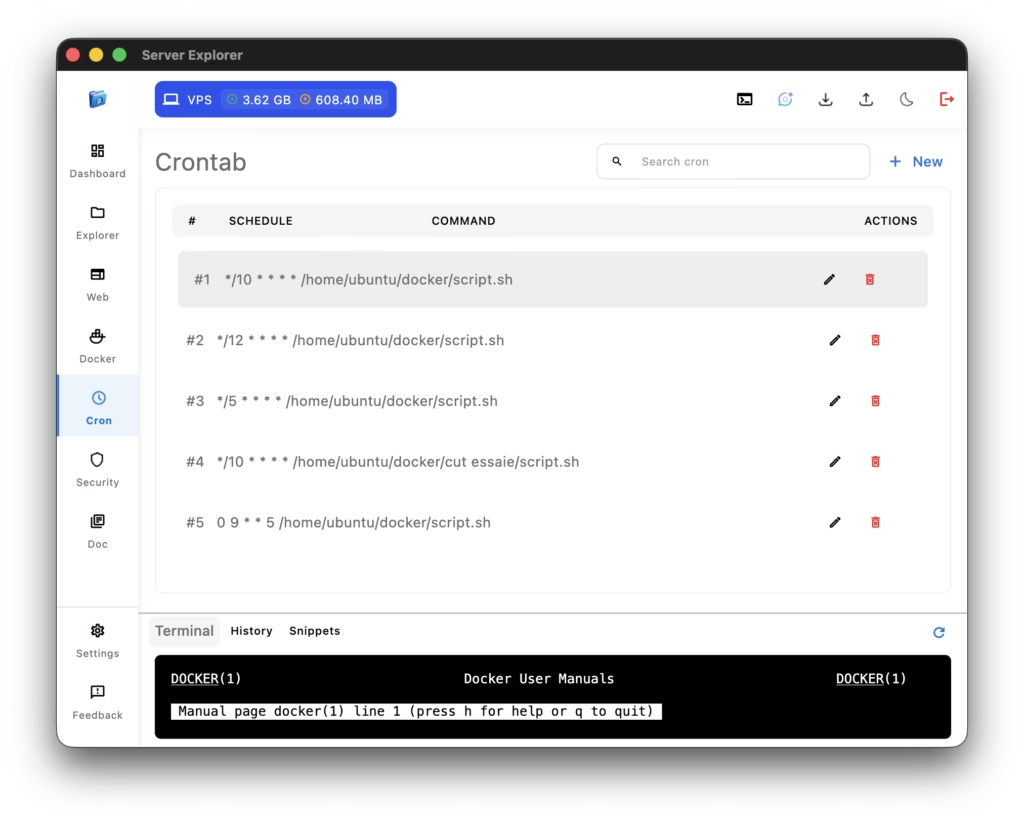
Step 2: Open the Cron Job Manager
Once connected, search to the Cron menu and click on it.
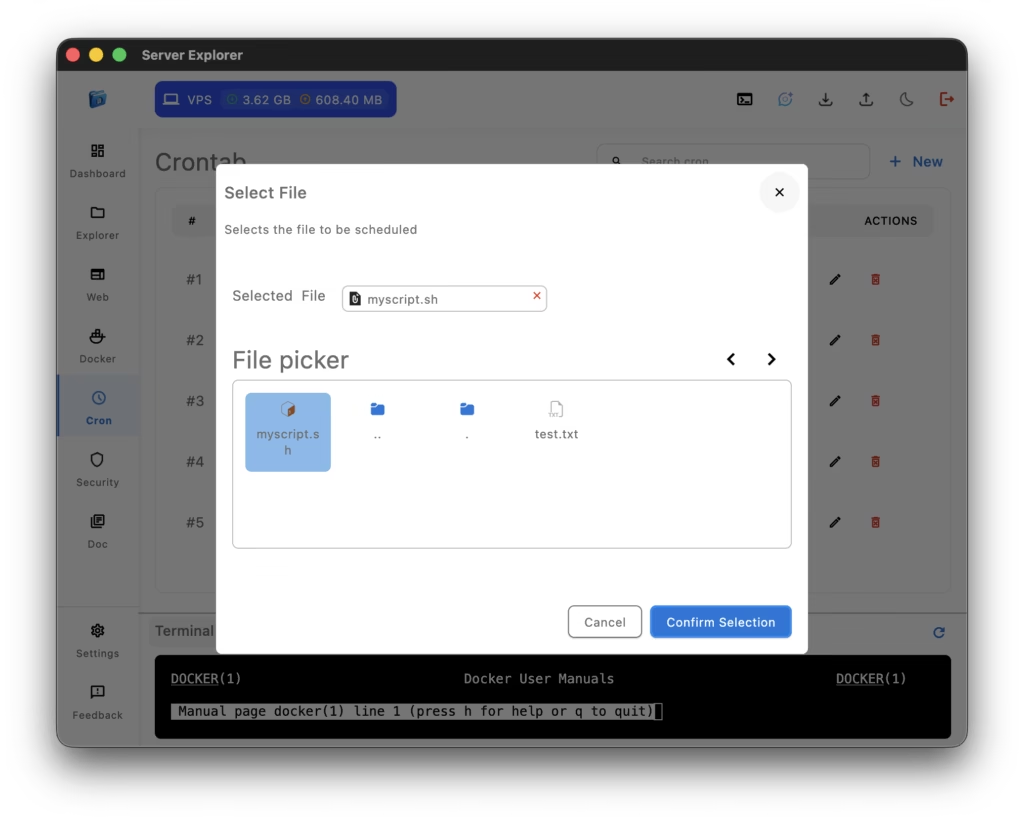
Step 3: Adding an Existing Script
If you’ve already got a script ready to go:
- Click the + New button next to the search field. This opens a file selector for your server.
- Navigate to your script, select it, and confirm your choice. This will bring up the cron configurator.
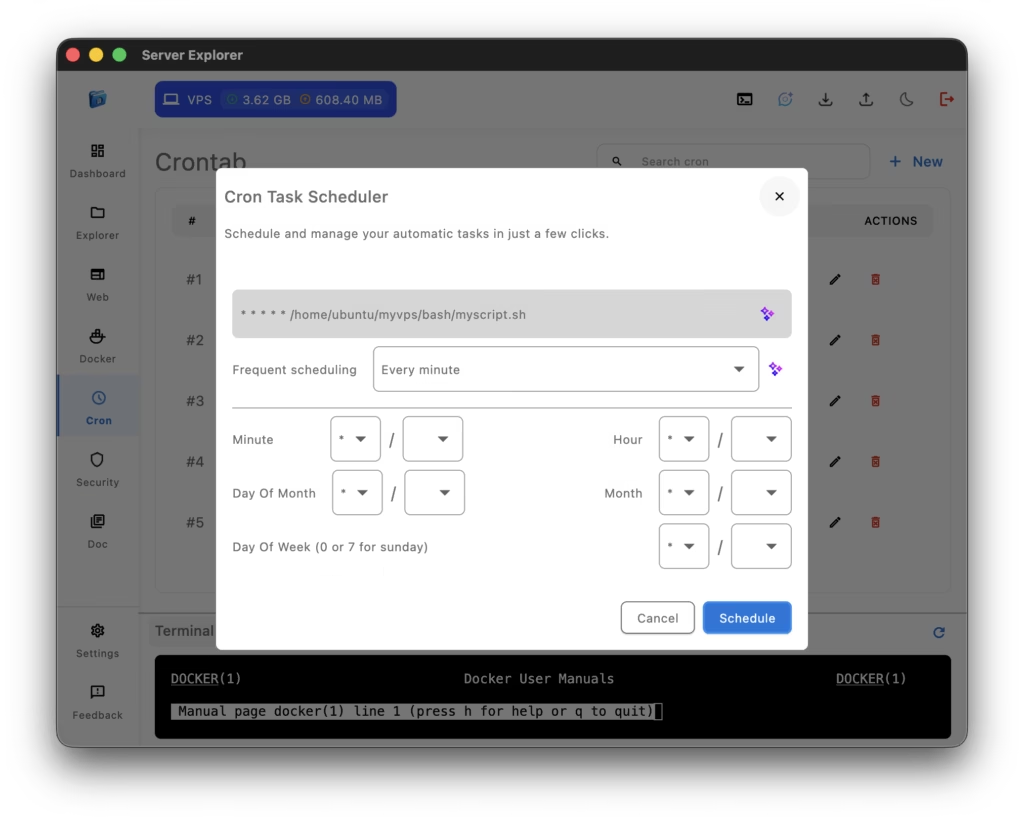
Step 4: Configure Your Cron Job
Now, you’ll see options to set the schedule for your cron job. You can either:
- Choose from pre-configured options like “Every day,” “Every hour,” etc — Yeah, I know, super convenient!
- Customize your schedule using the form fields — Perfect for when you want things just the way you like them.
- Use the built-in AI (if you’re not an expert) to schedule the job with natural language like, “Every Friday at 10 AM.” — Because who doesn’t love an easy, natural-language setup?
Step 6: Save and Exit
Once you’re happy with your setup, hit Save and close the dialog. Your cron job is now live —and just like that, you’re done! Easy, right?
Whether you prefer the control of the command line or the visual ease of Server Explorer, setting up cron jobs has never been simpler. Now that you’ve got the tools and knowledge, you’re ready to take control of your server’s tasks!
Speaking of Server Explorer, it’s your SSH client with a file explorer and many other cool features. You can see all others features here.
Available on MacOS here and on the Microsoft Store here.

⭐️ 4.8
⭐️ 5.0
