Uploading files to a server via SSH is one of the most essential tasks for developers and sysadmins. Whether you’re deploying a project or transferring crucial files, mastering this command is crucial. In this article, we’ll show you how to easily upload a file via SSH using command-line instructions and, of course, how Server Explorer makes this process even smoother.
Part 1: Uploading a File via SSH on the Command Line
Step 1: Using SCP to Upload a File
SCP (Secure Copy Protocol) is your go-to tool for transferring files securely between your local machine and your server. Here’s the basic command:
Copied!scp /path/to/local/file username@server_address:/path/to/remote/directory
-
/path/to/local/file -
username@server_address:/path/to/remote/directory– this specifies where you want the file to go on the server.
Example:
Copied!scp ~/Documents/myfile.txt user@192.168.1.1:/var/www/html/
Yeah, I know — super handy and straightforward!
Step 2: Checking the File
Once the upload completes, log into your server via SSH and navigate to the remote directory to ensure the file has been uploaded:
Copied!ssh user@server_address cd /path/to/remote/directory ls
See? Simple, yet powerful. And you’ve just uploaded a file like a pro.
Part 2: Uploading a File with Server Explorer
Now, let’s talk about how you can do the same task using Server Explorer, but with a lot more ease. Because who doesn’t like making things easier?
Step 1: Logging in to Your Server
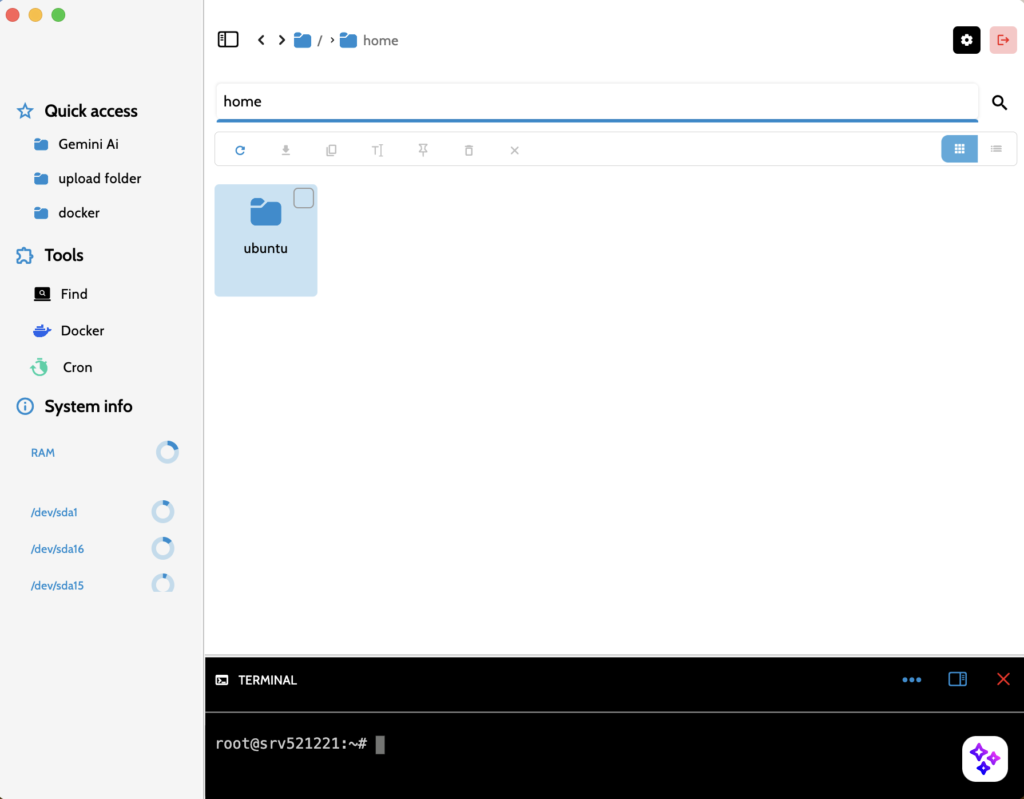
Open Server Explorer and connect to your server via SSH just like you normally would. You’ll see the list of your server’s files and directories displayed right in front of you.

Step 2: Navigating to the Destination Folder
Go to the folder on your server where you want to upload the file. You can easily navigate through your server’s file system using the file manager interface. Double-click to open a folder as easily as a standard file explorer

Step 3: Uploading the File
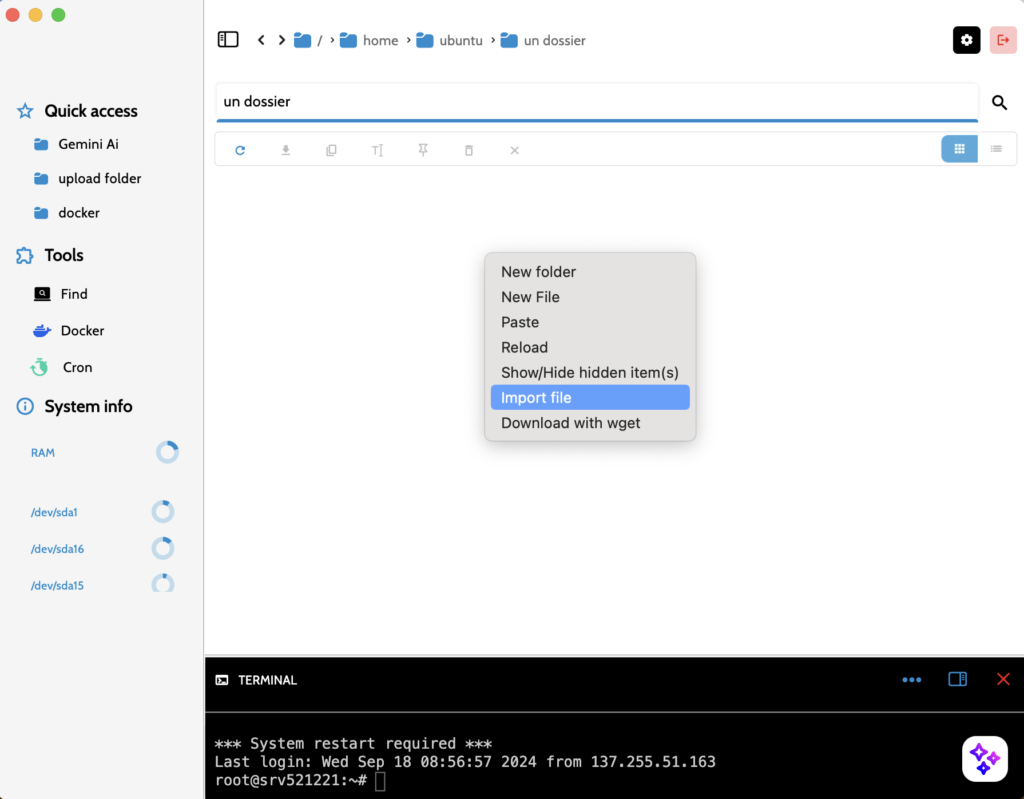
Now, right-click inside the folder and select “Import File”. This will open a file selector on your local machine. Choose the file (or multiple files) you want to upload, and click “OK”.

Step 4: Upload Progress
Once the upload starts, you’ll see a progress dialog showing the file upload status in real-time. It’s that simple — no need to memorize SCP commands or deal with the terminal!
Yeah, I know — just a couple of clicks and you’re good to go.

Mastering file uploads via SSH is essential for managing servers. While the command line is efficient, tools like Server Explorer make the process much more intuitive, saving you time and reducing errors. So next time, why not make things easier and try Server Explorer?
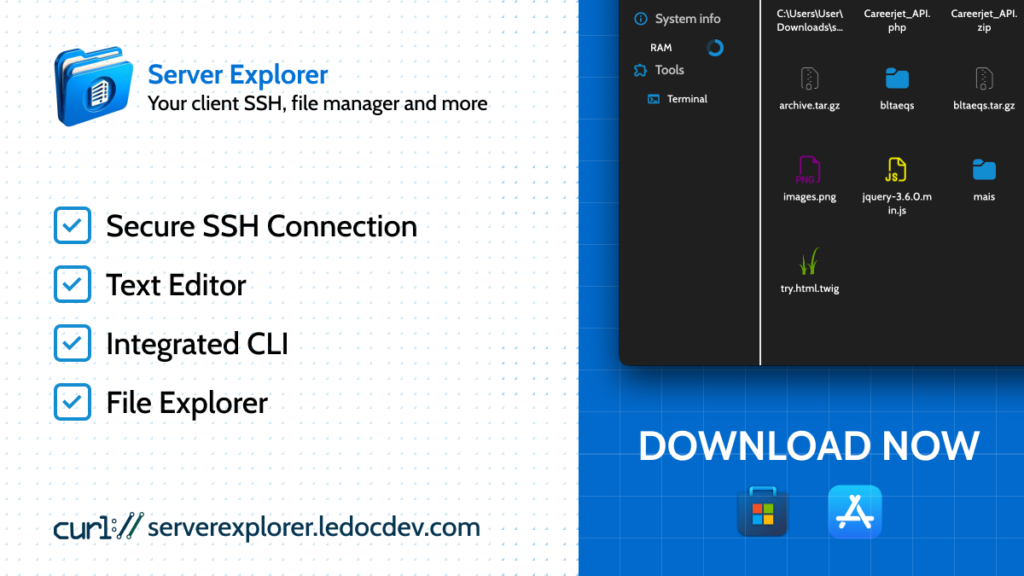
Speaking of Server Explorer, it’s your SSH client with a file explorer and many other cool features. You can see all others features here.
Available on MacOS here and on the Microsoft Store here.

⭐️ 4.8

⭐️ 5.0


